Ever wondered how to translate your web pages into different local languages of visitors visiting your website? That’s where the concept of localization comes into action. Localization with reference to web pages is nothing but a process of translating your web pages into the local language of the visitor.
Localization is done with the help of i18n which is also known as internationalization. Internationalization is a process to scale your web application internationally by removing local language barriers. Tolgee is a platform where you can translate your web pages into different languages and integrate them with your projects using SDKs.
Tolgee also allows you to modify the translations by doing ALT + CLICK on the element that you want to translate without changing any configuration or localization files. It all happens automatically in the web app which you are developing.
In this tutorial, we are going to see how we can localize a Next JS application using Tolgee. Let’s get started.
Creating a Tolgee Project
First of all, we have to create a tolgee project consisting of all the translations we need along with their keys. A key is something which is used to identify the element that’s being translated.
There are 2 ways in which you can create a Tolgee project:
Using Tolgee App
For now, we will be taking a look at how to create a tolgee project using the tolgee app.
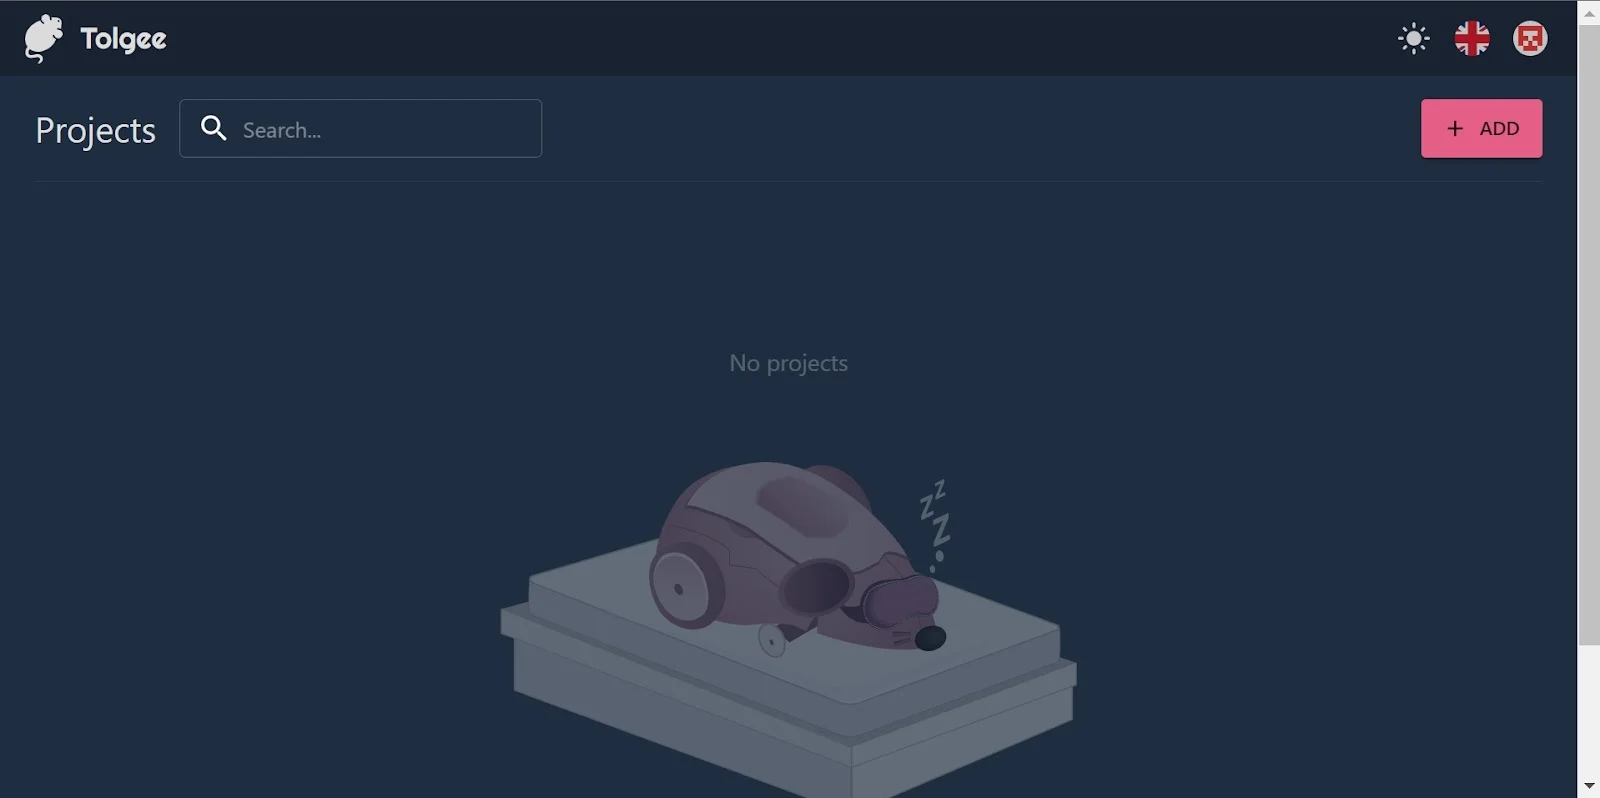
Create a Tolgee account and go to app.tolgee.io
Click on ‘Add’ to add a new project
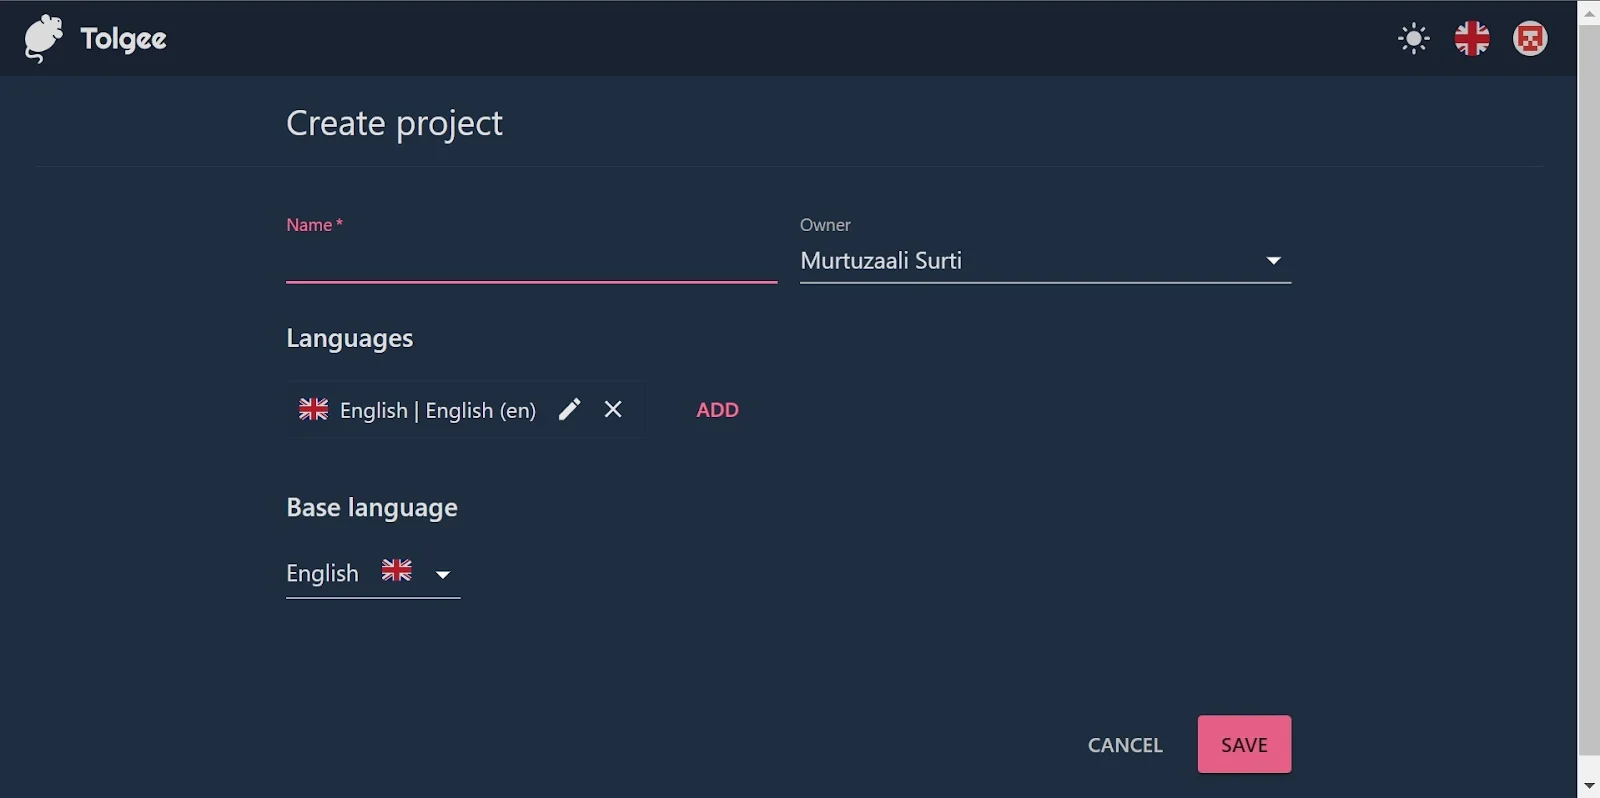
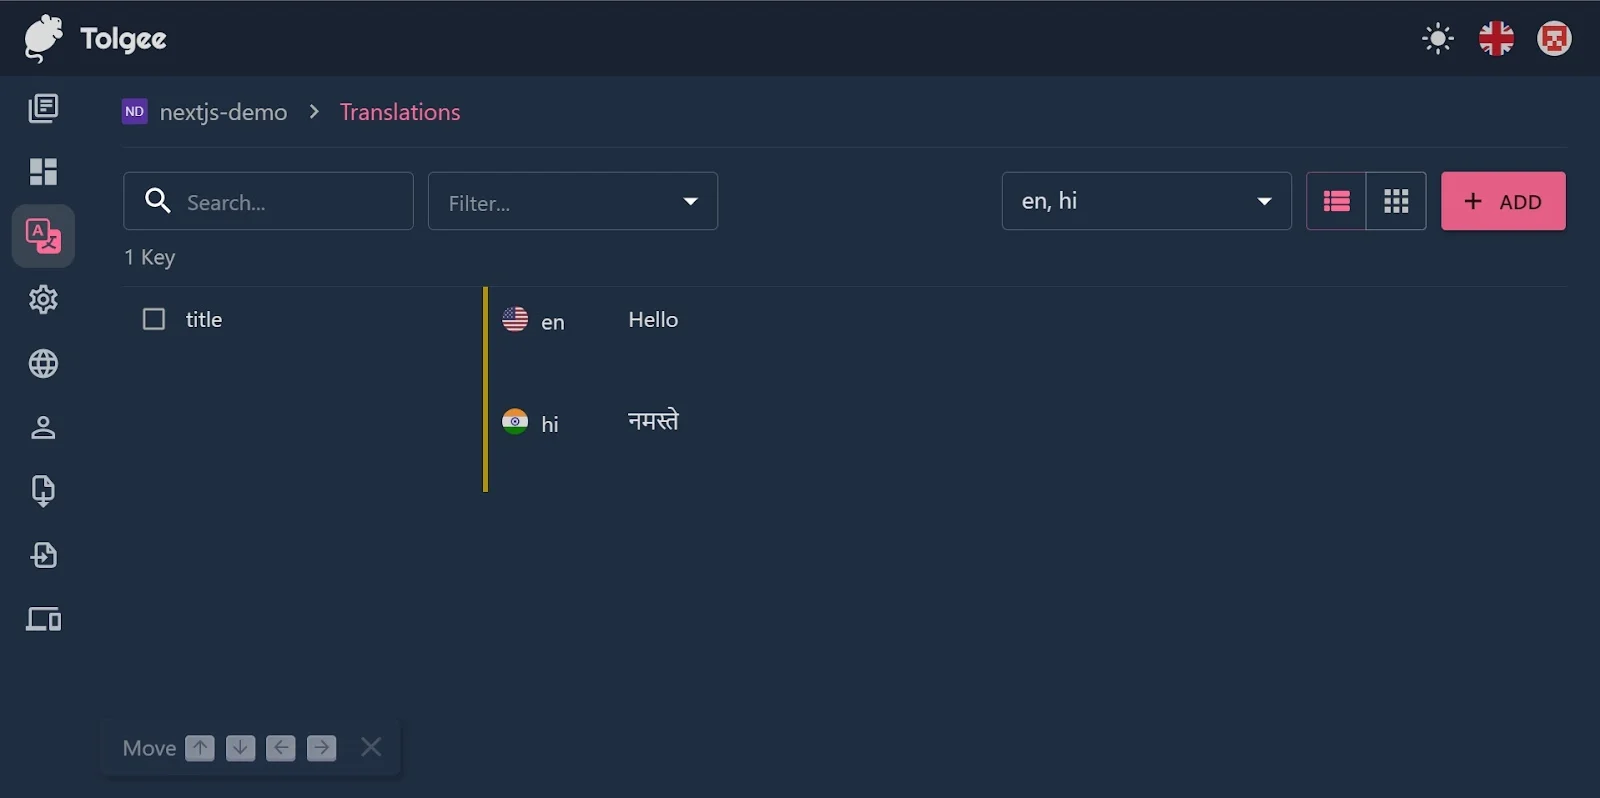
- Add a base language and some other languages in which you want to translate the content.
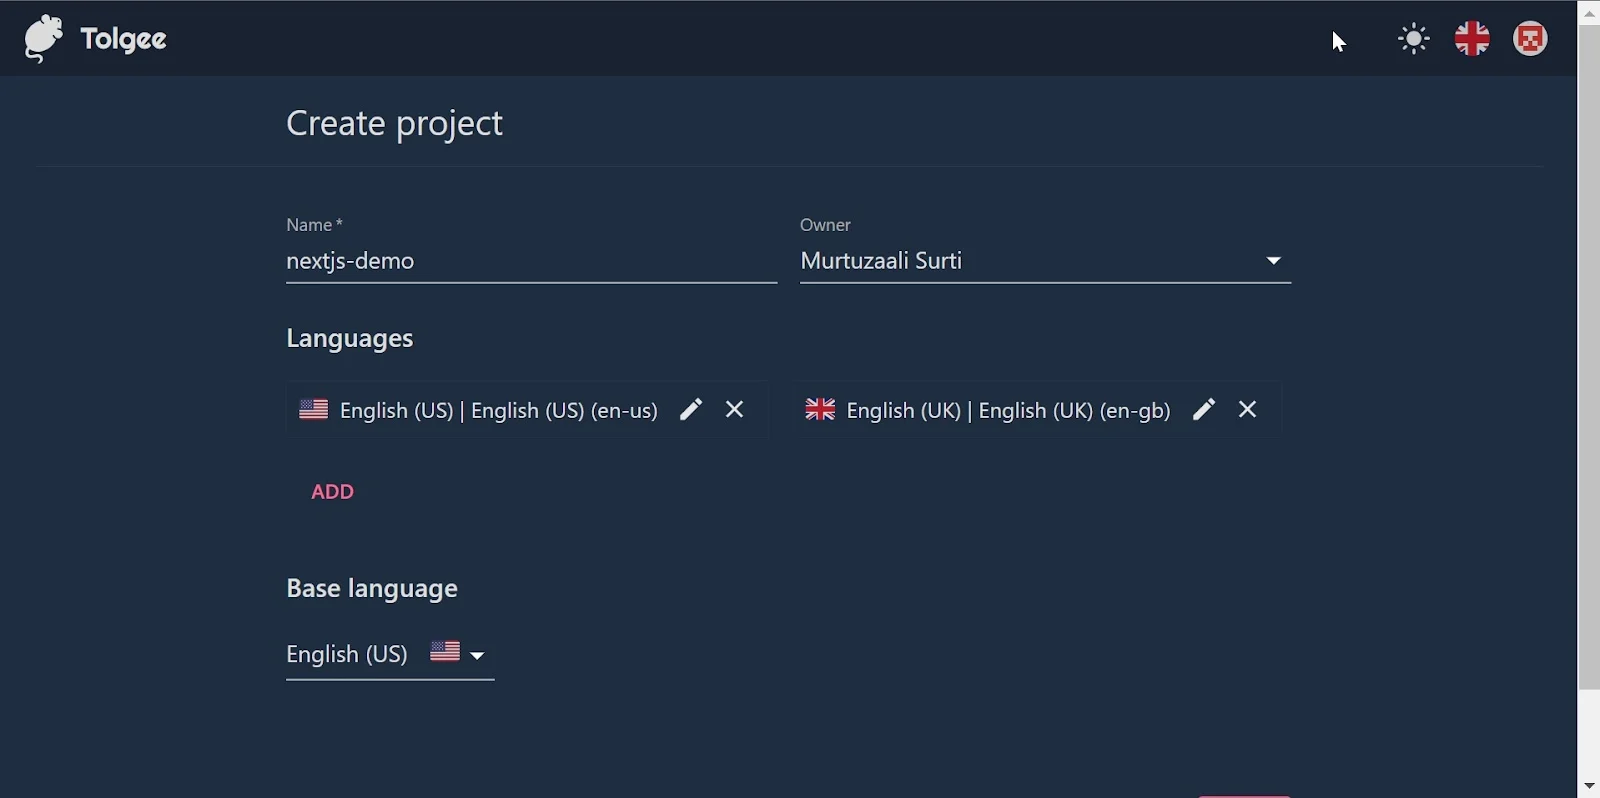
- Add a key along with the translations according to languages.
Our tolgee project has been created! Now, in order to integrate this with an application we need API keys. So, let’s see how we can generate them from our project.
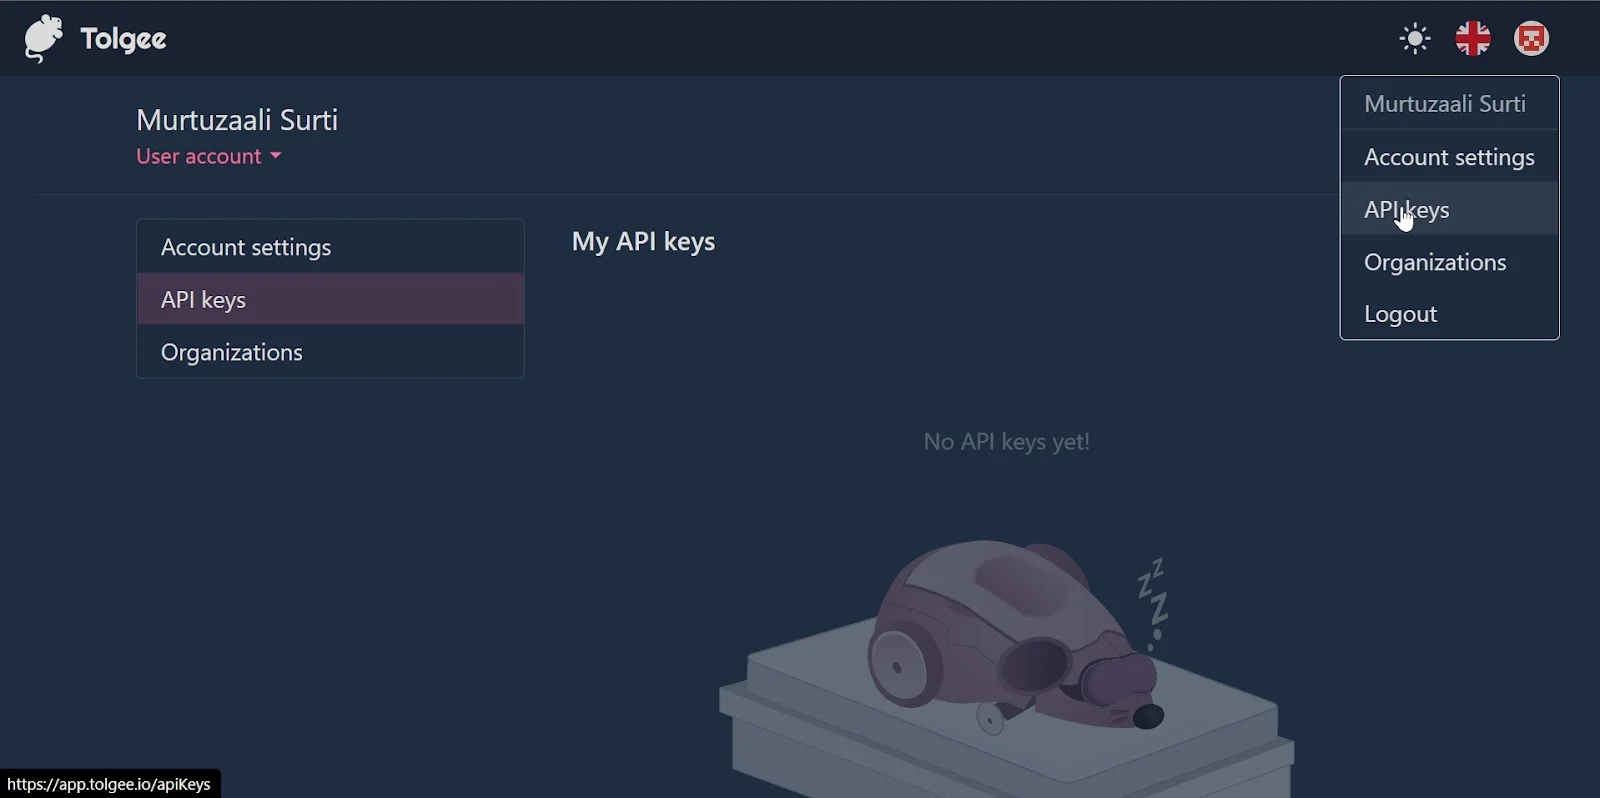
Click on the profile picture and select
API keys.Click on the plus icon to generate a new API key for your project.
We will need this API key to connect to our tolgee project which we just created.
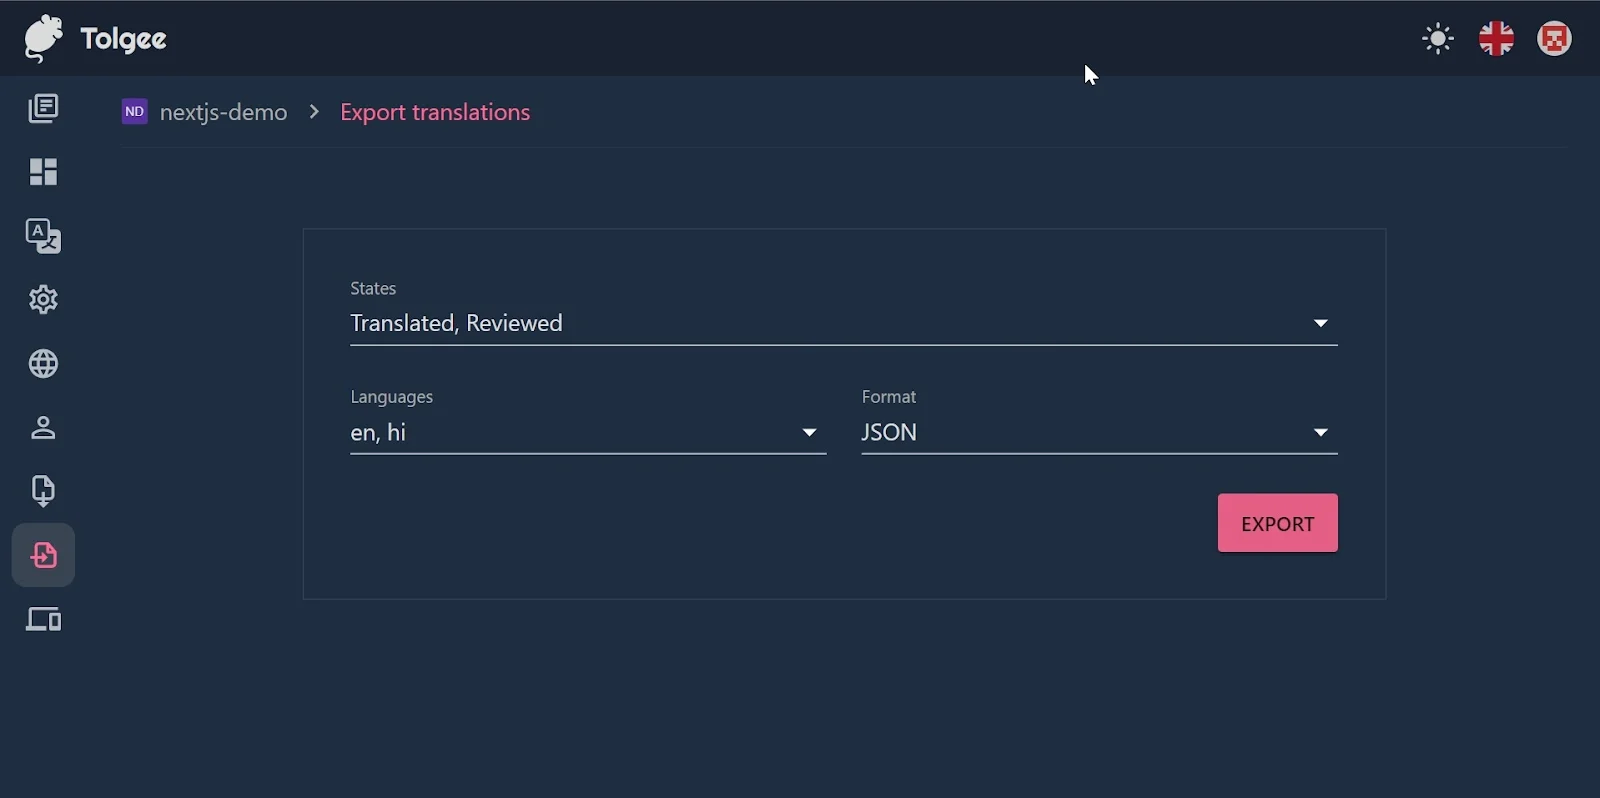
- We need to export the JSON files for our translations. We can do that by going to the 'Export Translations’ tab and by clicking ‘Export’. Make sure to export them in JSON format. They will be exported in a ZIP file.
It’s time to create the Next JS web application!
Creating a Next JS App
- Run the following command to create a Next.js app:
npx create-next-app next-app-with-tolgee --use-npm
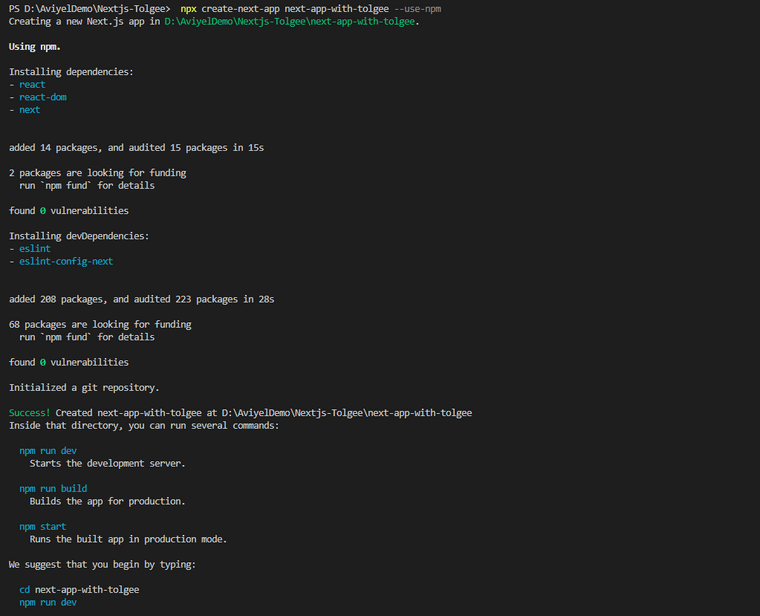
Your folder structure should look like this once you install the Nextjs application.

- Inside the
next.config.jsfile, add the following i18n configuration object:
i18n: {
    locales: ['en', 'hi'],
    localeDetection: true,
    defaultLocale: 'en',
},
Change the locales according to the languages that you have added in your tolgee project.
- Install
@tolgee/reactmodule from npm
npm i @tolgee/react
- Create a file
.envdevelopment.local and add these keys to it
NEXT_PUBLIC_TOLGEE_API_KEY=<your API key>
NEXT_PUBLIC_TOLGEE_API_URL=https://app.tolgee.io
Change <your API key> to the API key which we generated from our tolgee project.
- Create a i18n folder and extract the contents of the ZIP file containing the exported translation JSON files inside that folder.

- Rename
_app.jsfile_app.tsxand add the following code to it:
/* eslint-disable @typescript-eslint/no-var-requires */
import type { AppProps } from 'next/app';
import { useRouter } from 'next/router';
import { TolgeeProvider } from '@tolgee/react';
const apiKey = process.env.NEXT_PUBLIC_TOLGEE_API_KEY;
const apiUrl = process.env.NEXT_PUBLIC_TOLGEE_API_URL;

function MyApp({ Component, pageProps, locales }: AppProps & { locales: any }) {
  const router = useRouter();

  return (
    <TolgeeProvider
      forceLanguage={router.locale}
      apiKey={apiKey}
      apiUrl={apiUrl}
      wrapperMode="invisible"
      staticData={{
        en: () => import('../i18n/en.json'),
        hi: () => import('../i18n/hi.json'),
        ...locales,
      }} // remove this to enable language auto detection
      enableLanguageDetection={false}
      loadingFallback={<div>Loading...</div>}
    >

      <Component {...pageProps} />

    </TolgeeProvider>
  );
}
Here, we are wrapping the root component with TolgeeProvider which will provide us with the translation data that we need! If you want automatic language detection then you can set the enableLanguageDetection property to true.
Make sure to change the language codes depending on the languages that you have added.
- Next, add the following code below the above code:
MyApp.getInitialProps = async (context: any) => {
  const locale = context.router.locale;
  const result = {
    locales: {
      // get translations for current locale
      [locale]: await import(`../i18n/${locale}.json`),
    },
  };
  return result;
};

export default MyApp;
This will allow us to get the translation file according to the language set in the router path. In other words, it will get the translations according to the language currently mentioned by the URL.
- Now, create a new page Welcome.js and add the following code to it:
import React from 'react';
import { T } from '@tolgee/react';
import { useRouter } from 'next/router';
const Welcome = () => {
  const router = useRouter();
  const setLanguage = (lang) => {
    router.replace(router.pathname, undefined, { locale: lang });
  };
  return (
    <div>

      <select
        onChange={(e) => setLanguage(e.target.value)}
        value={router.locale}
      >
                <option value="en">English</option>
                <option value="hi">Hindi</option>

      </select>
            <T keyName="title">Hello</T>

    </div>
  );
};
export default Welcome;
Here we have added a dropdown list of supported languages from which the user can choose the language of choice. We are accordingly updating the router parameters as per the selection.
You can use the T component to modify the translations right from your app. Just ALT+CLICK on the element and get your translations modified.
Make sure to correctly mention the keyName according to the keys created in your tolgee project which we initially created.
Import the above file inside the index file of our project.
import type { NextPage } from 'next';
import Welcome from '../views/Welcome';

const Home: NextPage = () => {
  return <Welcome />;
};

export default Home;
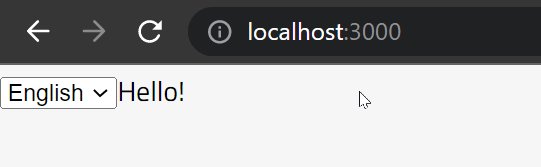
Finally, run npm run dev and your app should be live at localhost:3000 .
You can now select a language from the dropdown list and the contents of the page will be translated accordingly!
You can also change the original text and the translation by ALT+CLICK on the element without changing any localization or configuration files! That’s the power of Tolgee!
That’s how you can localize your Next.js application using tolgee and update the text and translations just by doing ALT+CLICK on the element.
The source code for the project mentioned above can be found in this github repository!
Conclusion
The awesome thing about Tolgee is that its open source! It’s an all-in-one localization solution for your app. It provides a localization platform where you can manage all the translations and also provides SDKs to integrate tolgee seamlessly with your applications.
At Aviyel, we are trying to spread awareness about open-source projects like Tolgee which can help developers and open-source enthusiasts in the best way possible!
Original blog post was published at Aviyel. Feel free to check out some other awesome open-source projects there.